| ||||||||||||||||||||||
Pg 1 NextPg==>> |
POWERSCRIBE 360 TUTORIAL Intended Audience: This tutorial is intended for IUH, IRP, and Arnett radiologists and clinicians who are familiar users of Powerscribe 4.8. Much of the material anticipates familiarity with PS4.8 and uses this assumption for providing content / context / comparison regarding Powerscribe 360. (Now also available: PS360 FAQ for some quick tips) This tutorial does not require hands-on. You do not need to be using PS360. Rather, the tutorial's main purpose is to get you ready for hands-on use. Navigation: The tutorial is arranged in sections of relatively short / digestable web pages. Use the QUICKNAV panel on the left to go from section to section. There are Prev/Next page links at the top and bottom of every page.
Logging on to Powerscribe 360 In order to use PS360 once we go live with it, it is assumed that:
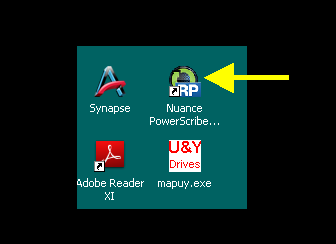
To start up PS360, find the Nuance icon on your desktop and double-click it as you would with any Windows shortcut / program. See yellow arrow below. To be a bit more specific, you are starting up what is formally called the Powerscribe 360 Client. It's important to keep this term in mind because there is also web-based access (not for dictation) to PS360 called the Radiologist Portal that is available for some tasks, including remote signing of reports.
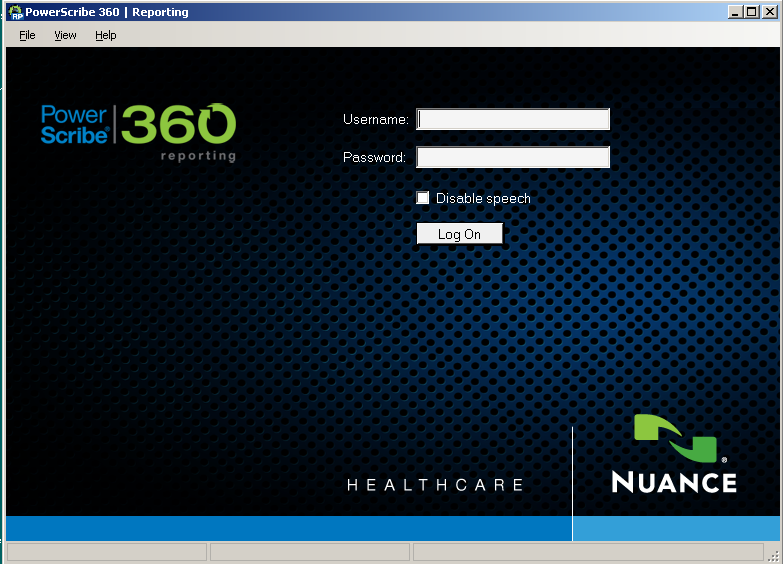
PS360 will start up. If things are configured correctly you will see a web page quickly come and go, followed immediately by the additional separate loading of the PS360 log-on screen. The log-in screen appears as shown below. Click the screenshot to zoom up to full size. Note the "Disable Speech" checkbox... especially helpful if using the client software on a computer without a microphone. With PS360, you don't necessarily need a microphone to do several of the tasks that required a microphone in PS4.8, such as typing in a quick report or an addendum, assuming you have at hand the info necessary to look up the exam of interest in PS360. PS360 has much more facile look-up capabilities vs PS4.8. Unless you have been given explicit instructions to the contrary, you should log in with your "mhg" username/password... the same combo that you use to log into Windows on IUH Synapse Workstations. Do NOT use your old PACSbridge/PS4.8 username/password.
That's it! It will take a minute or so for all of your speech profile information to load up. Then you'll be taken to the main workflow screen for PS360. Nuance calls this the PS360 Explorer Screen. Reminder: In case you find yourself troubleshooting things with a PS360 admin, and they happen to make some back-end server-side changes to your autotexts or other profile info, remember that you need to completely exit the PS360 client by selecting "File", then "Exit" from the menu bar shown at top of the screenshot above. Simply logging off to arrive back at the log-in screen shown above, and then logging back in, is not sufficient for the changes to be downloaded and become applied to the client. You need to exit and restart the client.
|
Pg 1 NextPg==>> |
Images may be reused for educational purposes only. All copyright watermarks must be left intact.
Powered by EDACTICTM -- Empowering Education Everywhere.
